The Play Framework has started to gain traction with developers in recent years. The low learning curve of Play makes it a breeze to get started on rapid application development. Let's have some fun by making an example event subscriber using Play.
To get started, download Play with Activator here: https://www.playframework.com/download
Next, install Play by adding Activator to your PATH by following the instructions here: https://www.playframework.com/documentation/2.3.x/Installingdownload
Play allows you to code with either Java or Scala. For the purposes of this example, use Java by adding "play-java" to the activator command. Go to the parent directory of where you want to create your project directory and run the following commands:
activator new event-subscriber play-java
cd event-subscriber
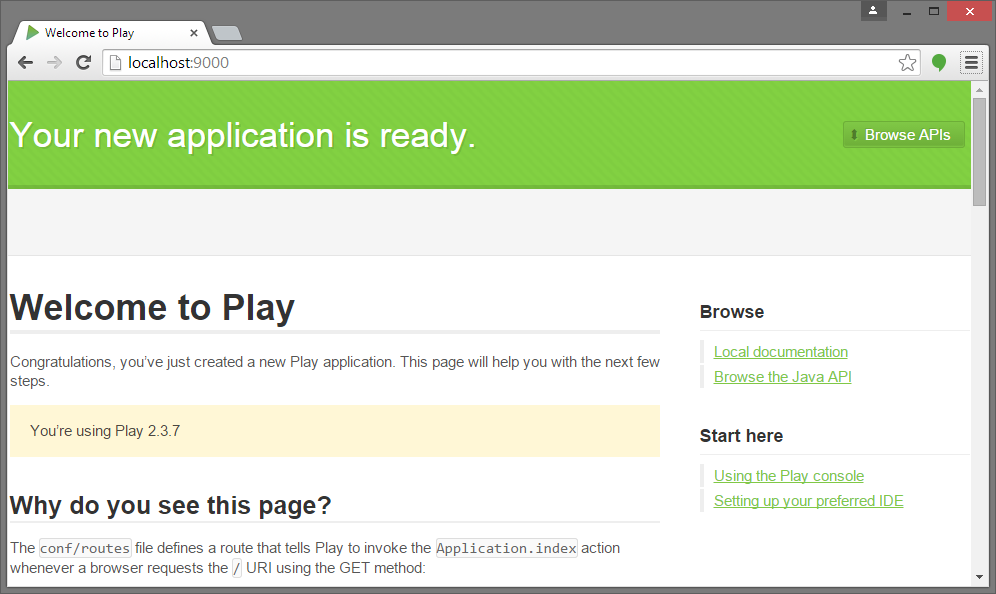
activator runAfter Activator and Play finish downloading dependencies and starting, navigate your browser to http://localhost:9000/. The following screen should appear:
Your project's directory structure should look something like this:
build.sbt
app
  └ controllers
  └ models
  └ views
conf
  └ application.conf
  └ routes
logs
  └ application.log
project
  └ build.properties
  └ plugins.sbt
public
  └ images
  └ javascripts
  └ stylesheets
test
  └ ApplicationTest.java
  └ IntegrationTest.java
Navigate to app/controllers and make a new controller named Events.java:
For this example, we only need one instance of a Publisher actor. However, we need a new instance of Subscriber for each client connected to the server. Navigate to app/models and define the Publisher and Subscriber actor models as follows:
In Publisher and Subscriber we are using DistributedPubSubExtension to allow for a clustered publish-subscribe system. To setup our cluster, add the following to conf/application.conf:
More cluster nodes can be added depending on the scale of your application. We do need to add a few dependencies to our build.sbt in order to compile our project:
Next, let's add some routes to conf/routes so we can access the Events controller from the web browser:
We will need some simple views to present our event data through WebSockets. Add jQuery to app/views/main.scala.html:
Create a new JavaScript file in app/views/event.scala.js and modify app/views/index.scala.html to resemble the following:
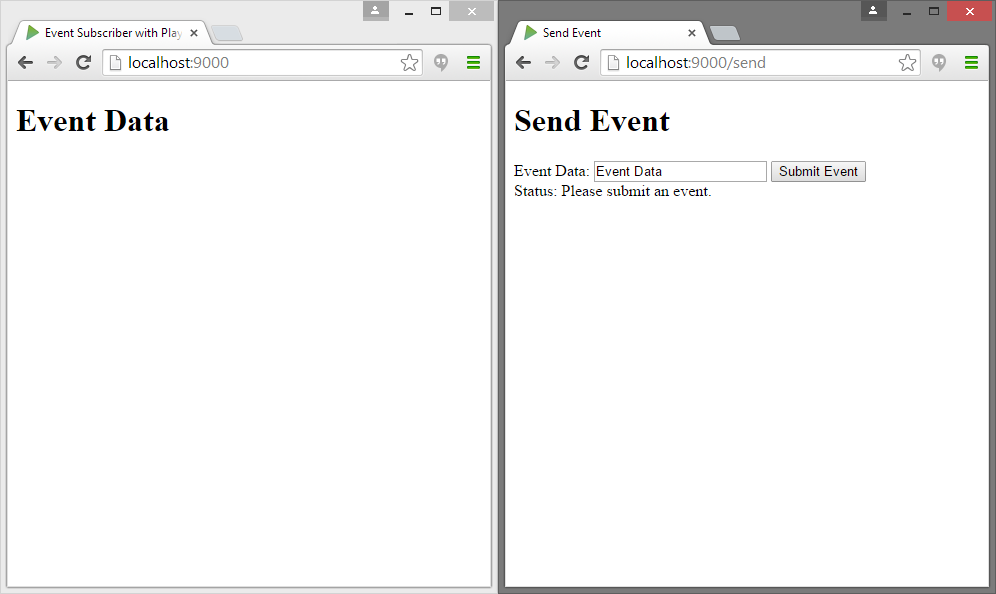
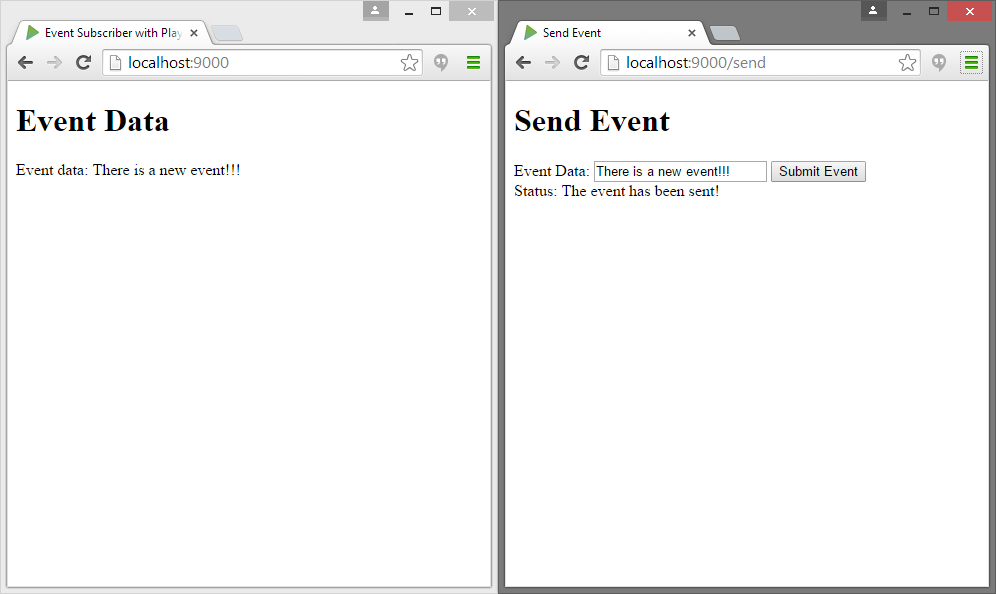
Restart the server by running "activator run" again in the parent project directory. You can also add another form view to test out sending events to the publisher and see the following:
All of the source code for this example is available here: https://github.com/TomAlanCarroll/event-subscriber